Tips of food photography
Tips of food photography
Food photography is probably one of the most difficult genres of photography. It is an art, but like other art forms, it can be learnt. This short write-up is not designed to turn you into a pro food photographer but following the advice will help you make a good start.
Remember, which camera you use is not important; what is important is your understanding of the various features and functions in your camera, the lighting, White Balance, composition (placement/position of the various food items in the frame), the choice of ISO and overall shooting techniques.
and also cause burnouts on highlights. Devices that soften the harsh light from flash are known as ‘light modifiers’. Examples are studio umbrellas, soft boxes and anything else that is used to diffuse the light.
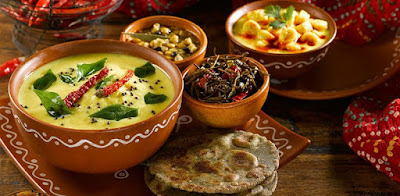
Here are some food photographs from our readers. Please keep in mind that we like to encourage new-comers to photography. Some of these are budding photographers and we wish them the very best…
The Camera for Food photography
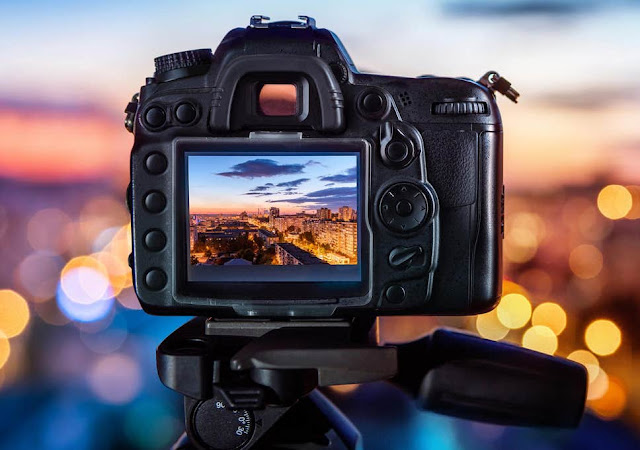
can be done using any type of camera as long as it offers control over shutter speeds and apertures. It is not mandatory to use a full-frame sensor model or even an APS-C sensor model; cameras with smaller sensors can be used as long as one understands the limitations of various sensor sizes. Generally speaking, larger the imaging sensor, better the image quality but as we have explained several times before, there are other factors too that play an important role in the final image quality. It also depends on how you are going to view the images – on a computer screen or a tablet or on your smartphone? Unless you are going to print the images – and print them pretty large – you are unlikely to have any image quality issues even with smaller image sensors.Remember, which camera you use is not important; what is important is your understanding of the various features and functions in your camera, the lighting, White Balance, composition (placement/position of the various food items in the frame), the choice of ISO and overall shooting techniques.
The Lighting for food photography
According to me, lighting plays the most crucial role in food photography (but so it does in all genres of photography!). Food can be photographed using ambient (available) light or artificial light (studio flash etc).
Using Ambient Light for food photography
Soft ambient lighting is the key (unless you need deep shadows for a particular look). Light coming through large windows (not direct sunlight) is considered soft. Food may be kept on suitable backdrop and placed close to a window. Reflectors can be used to re-direct some light onto the shadow areas. An advantage of using available light is that you can easily see the effect of the light and your camera can give you the exposure reading; you don’t have to use an external flash-cum-daylight exposure meter.Using Artificial Light for food photography
Though artificial lighting (studio flash systems) entails additional cost, it allows us to use the lowest possible ISO (which may or may not be possible with ambient lighting) for ‘noise-less’ images. Studio lights – which are more powerful as compared to soft window light) also allow us to use higher shutter speeds to freeze the moment (for example in liquid splash photography). When using studio flash (or external hot-shoe-mount flashguns), it is important to ‘soften’ the light. ‘Hard’ light will cast strong shadows – often dark shadows without any detail –and also cause burnouts on highlights. Devices that soften the harsh light from flash are known as ‘light modifiers’. Examples are studio umbrellas, soft boxes and anything else that is used to diffuse the light.
Note: When using any form of electronic flash, ensure that your camera’s shutter speed does not exceed the maximum allowed shutter speed for flash, known as the X-sync speed. This is usually all shutter speeds up to and including 1/125sec, though some D-SLR will synchronize with electronic flash up to 1/250sec.
White Balance (WB) for food photography
The color of light changes according to the time of the day and weather conditions. If you need to create in your pictures, colors that are as close as possible to real life – where a white object looks neutral white without any colour cast – then you need to set the appropriate White Balance on your camera. So, if you are shooting indoors near an open window, you could try setting your camera’s WB to shade (you may have to experiment a bit with different WB settings); if you are shooting in sunlight (yes, early morning or late evening, that is possible), you may try ‘Daylight’, or ‘Shade’ for a warmer effect. Indoors, with electronic flash, set your WB to ‘Flash’.Using a Tripod for food photography
I recommend using a tripod (Smart Photography readers know that by now – that I love tripods!). A tripod will slow you down, allow you to compose better and help you in achieving sharper pictures, especially when using slower shutter speeds.Taking help of a Food Stylist
You may be a good photographer as well as a good cook but food stylists are specialised in preparing and setting the dishes that can change your food pictures from ‘okay’ to ‘great’. Yes, having a food stylist will cost you a pretty penny, but your pictures will thank you for that. Take my word for it!Fresh food
I cannot emphasis it more! If the food that you are photographing is stale, you pictures will show it. And who likes stale food? Even food made half an hour ago will not look as appetizing as ‘made a minute ago’. That’s why professional food photographers employ photo studios that have facilities for preparing fresh food.Overexposed Highlights
Depending on the type of food and the angle of the light illuminating the food, highlights can be easily overexposed. You may need to adjust the direction or even the size of the light or even consider using a Polarizing filter to reduce the overly bright highlights.Focus Carefully
Decide which part of the food-dish should draw the viewer’s attention the most. Carefully focus at that point. Then decide whether you want the entire frame sharp from near to far or you prefer to have a thinner slice of focus.Set your aperture accordingly. Personally speaking, I dislike images (whether of food or anything else) that have an out-of-focus near foreground, but again, that is me! Your opinion may differ and that too is fine.A Debatable Point
Should the food almost fill the plate? The answer may depend from whom you learned food photography. I learned about food photography from one of my gurus –late Mitter Bedi. At that time he was probably the best industrial photographer but was also a great food photographer. According to him, the plate should not look empty; if the food is less, use a smaller plate. So, again, I prefer food photos where there is a good amount of it on the plate. Again, your opinion may differ and that too is fine!Use the ‘Correct’ Lens for food photography
The focal length of the lens that you use will have some say in the final image quality. I have seen some amazing food images taken using a wide-angle lens and I have seen great food shots using a macro lens or medium telephoto lens. So, experiment is the key.Here are some food photographs from our readers. Please keep in mind that we like to encourage new-comers to photography. Some of these are budding photographers and we wish them the very best…


Comments
Post a Comment